Investigation and Modeling in Geology
The second and third grade groups just wrapped up a hands-on geology study. They used their rock star investigative skills to identify common minerals and made models to simulate different ways that rocks form. Students observed the properties of ten mysterious mineral samples before holding a scientific summit. At the summit, they used all of the evidence gathered over the previous weeks and worked together to identify the samples by name.
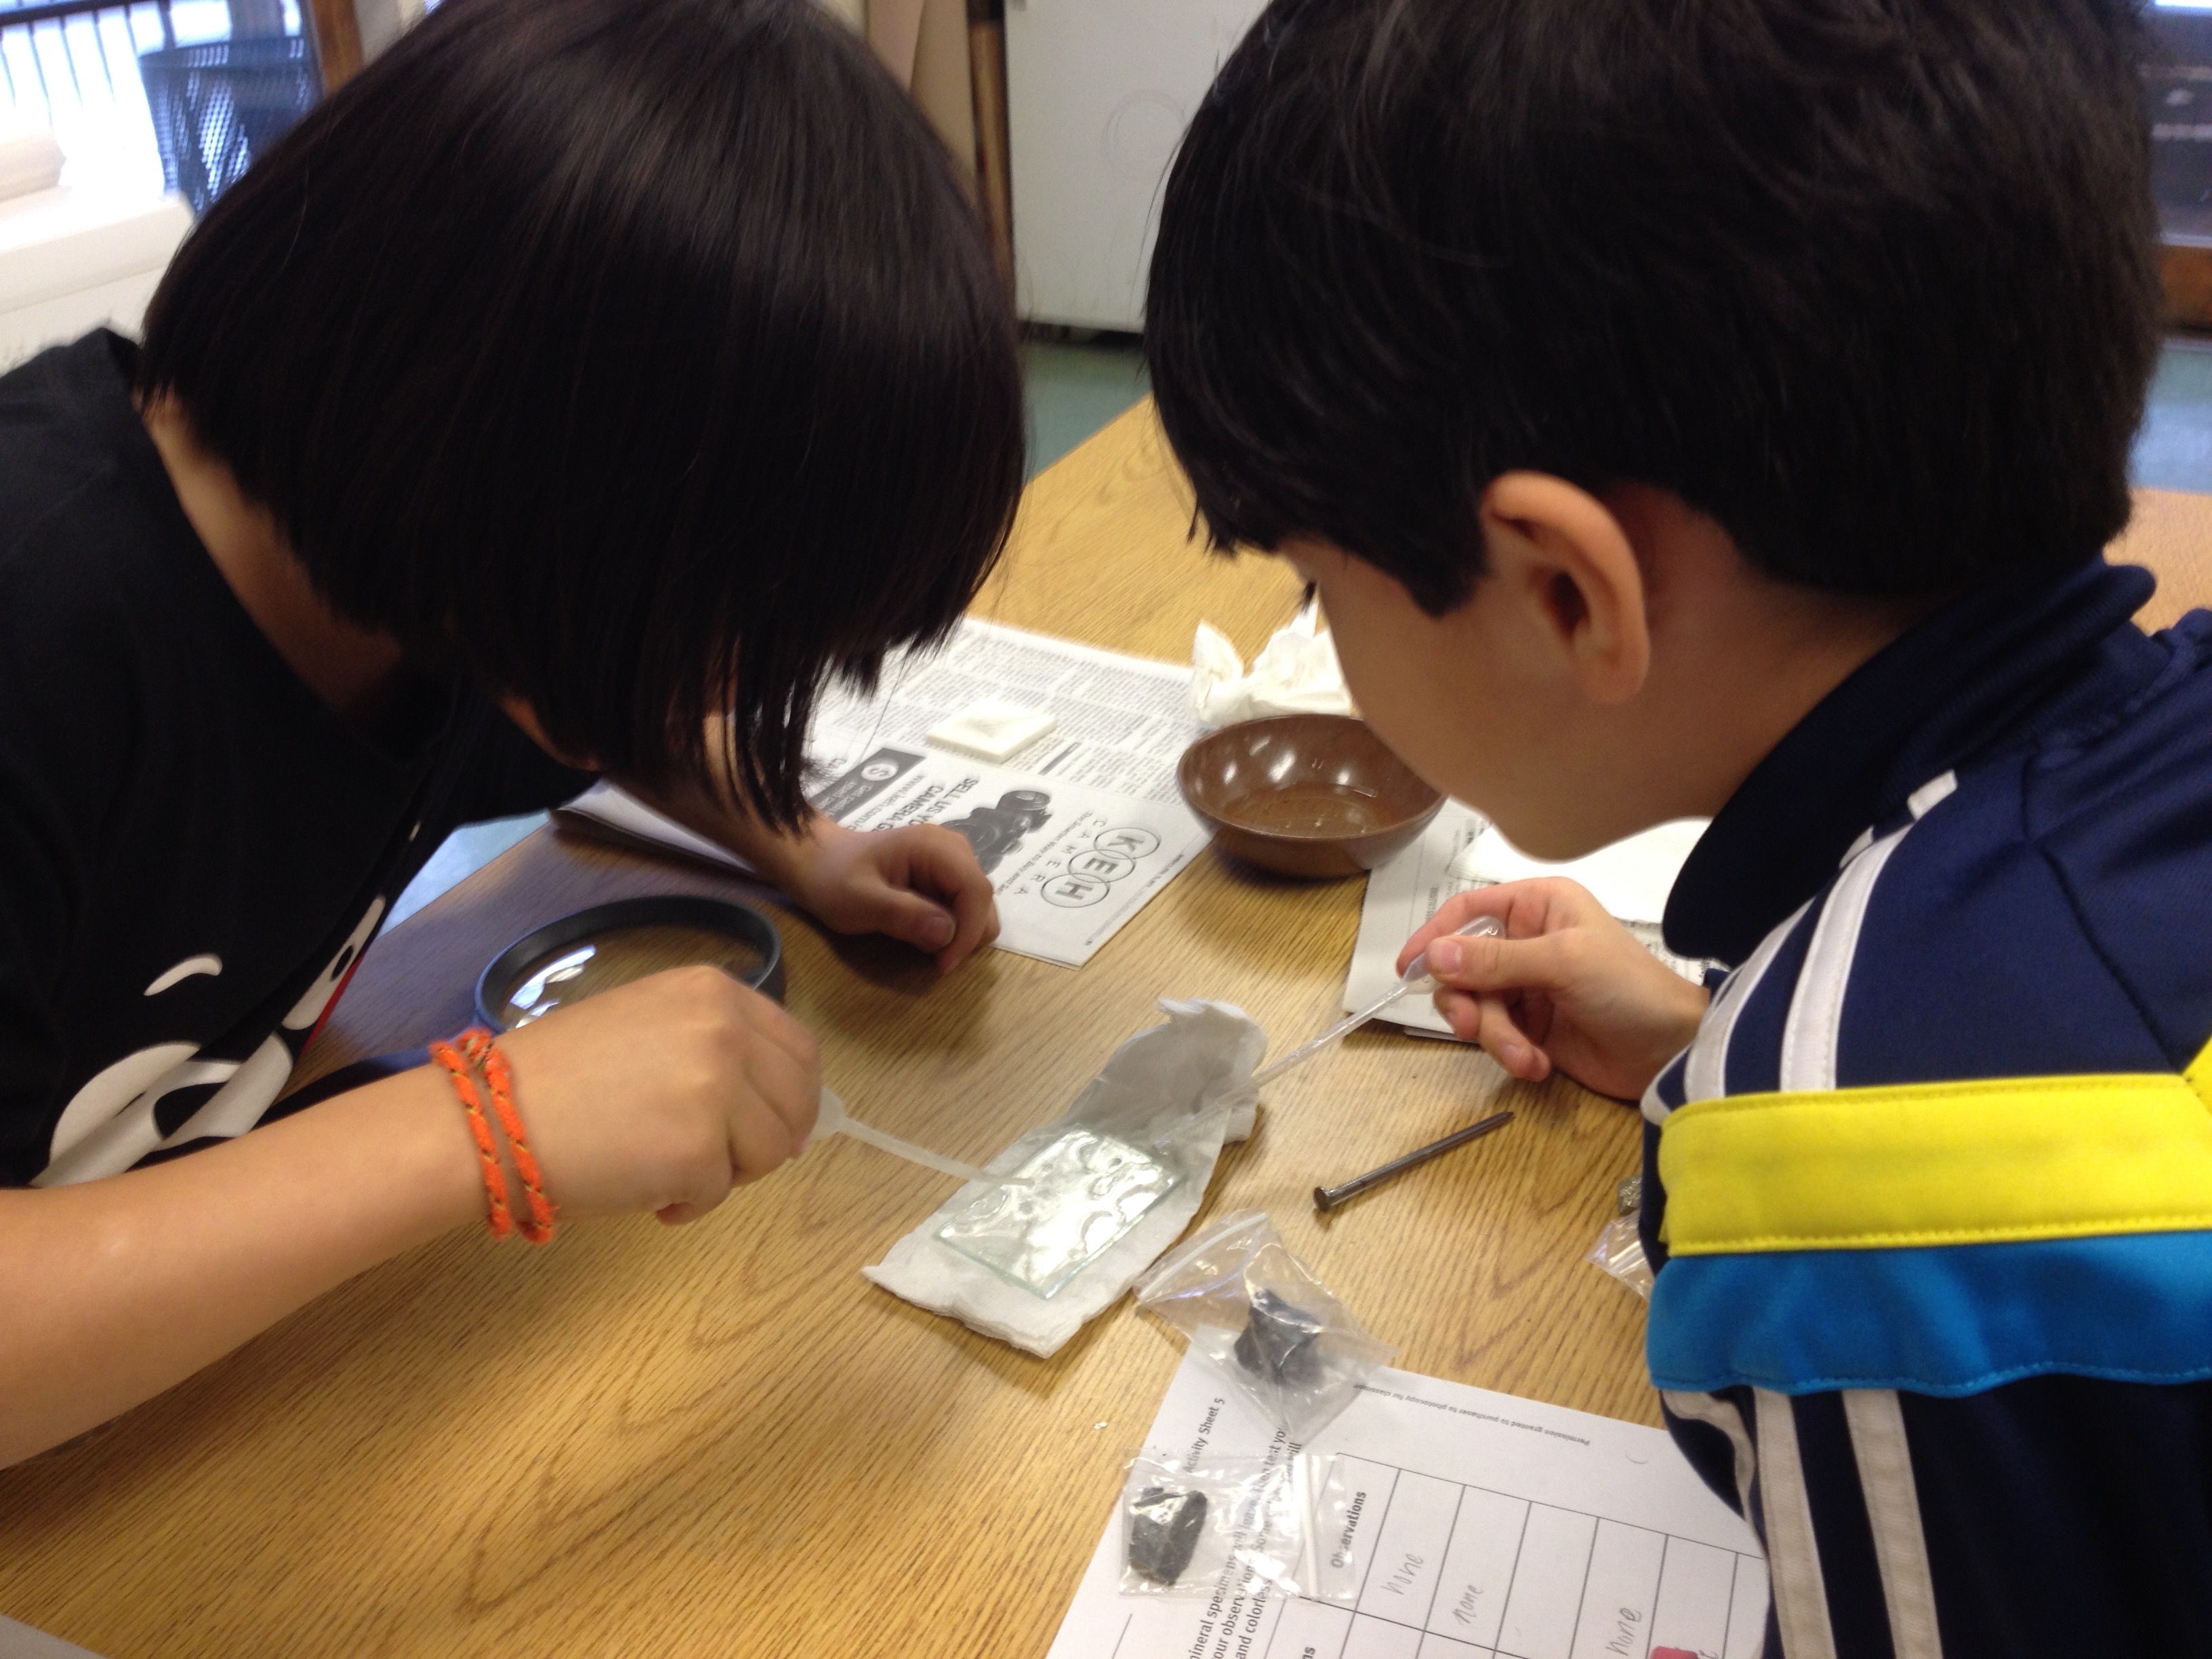
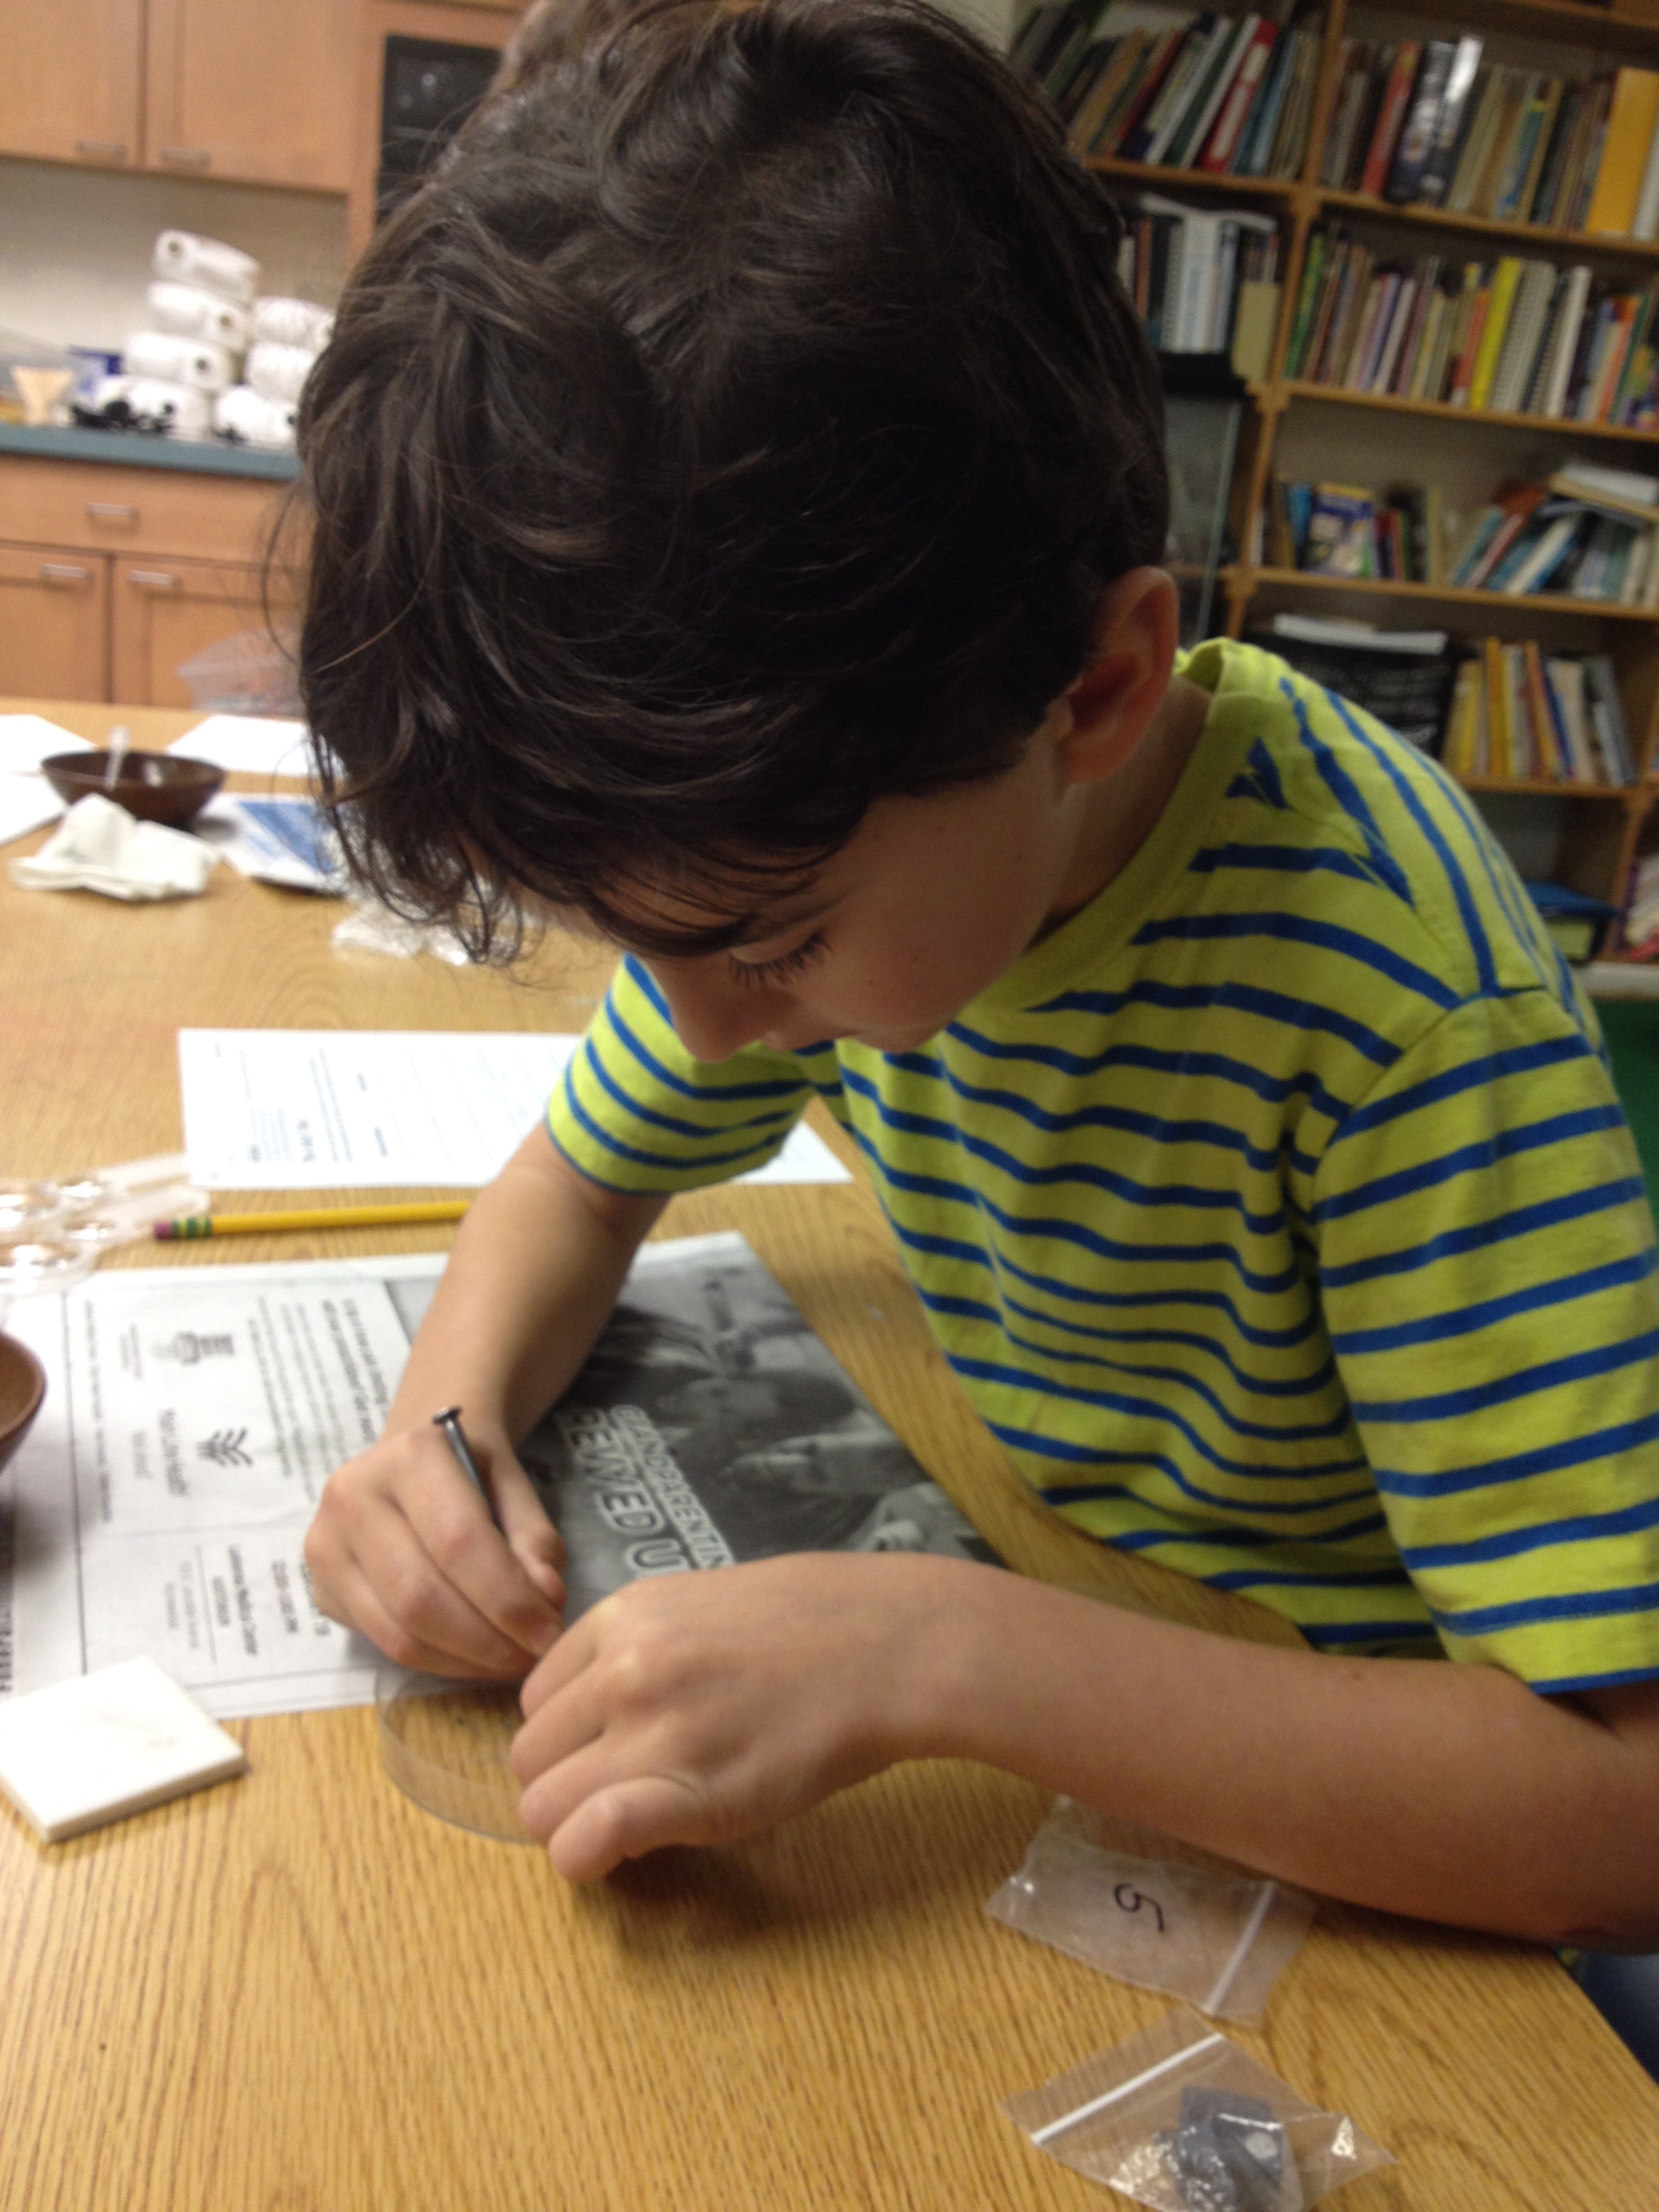 Students conducted hardness tests by scratching samples with different materials. Soft minerals, like talc and mica, were easily scratched by a fingernail or penny. Harder minerals, like quartz and feldspar, were not scratched by a nail and could scratch glass. Vinegar was used to conduct acid tests that revealed which samples (when ground into a powder) dissolved or reacted to form bubbles.
In addition to these tests, students recorded information about color, streak color, luster, odor, texture, shape and relative weight. We talked about why people study rocks and minerals (“Because it’s fun!” “Because you could use minerals to do things.”) and why people might become interested in geology. Students looked for objects in the classroom made from rocks and minerals and some of these scavenger hunt lists included more than 40 items! We went on rock hikes to find specimens that were particularly interesting and smashed them open with hammers to see what was inside. In addition to satisfying curiosity and getting to hit things, an added benefit of this activity was that the Moore Building deck was covered in tiny fragments of quartz. The nursery and kindergarten students were thrilled to share all of the “jewels and crystals” they discovered outside!
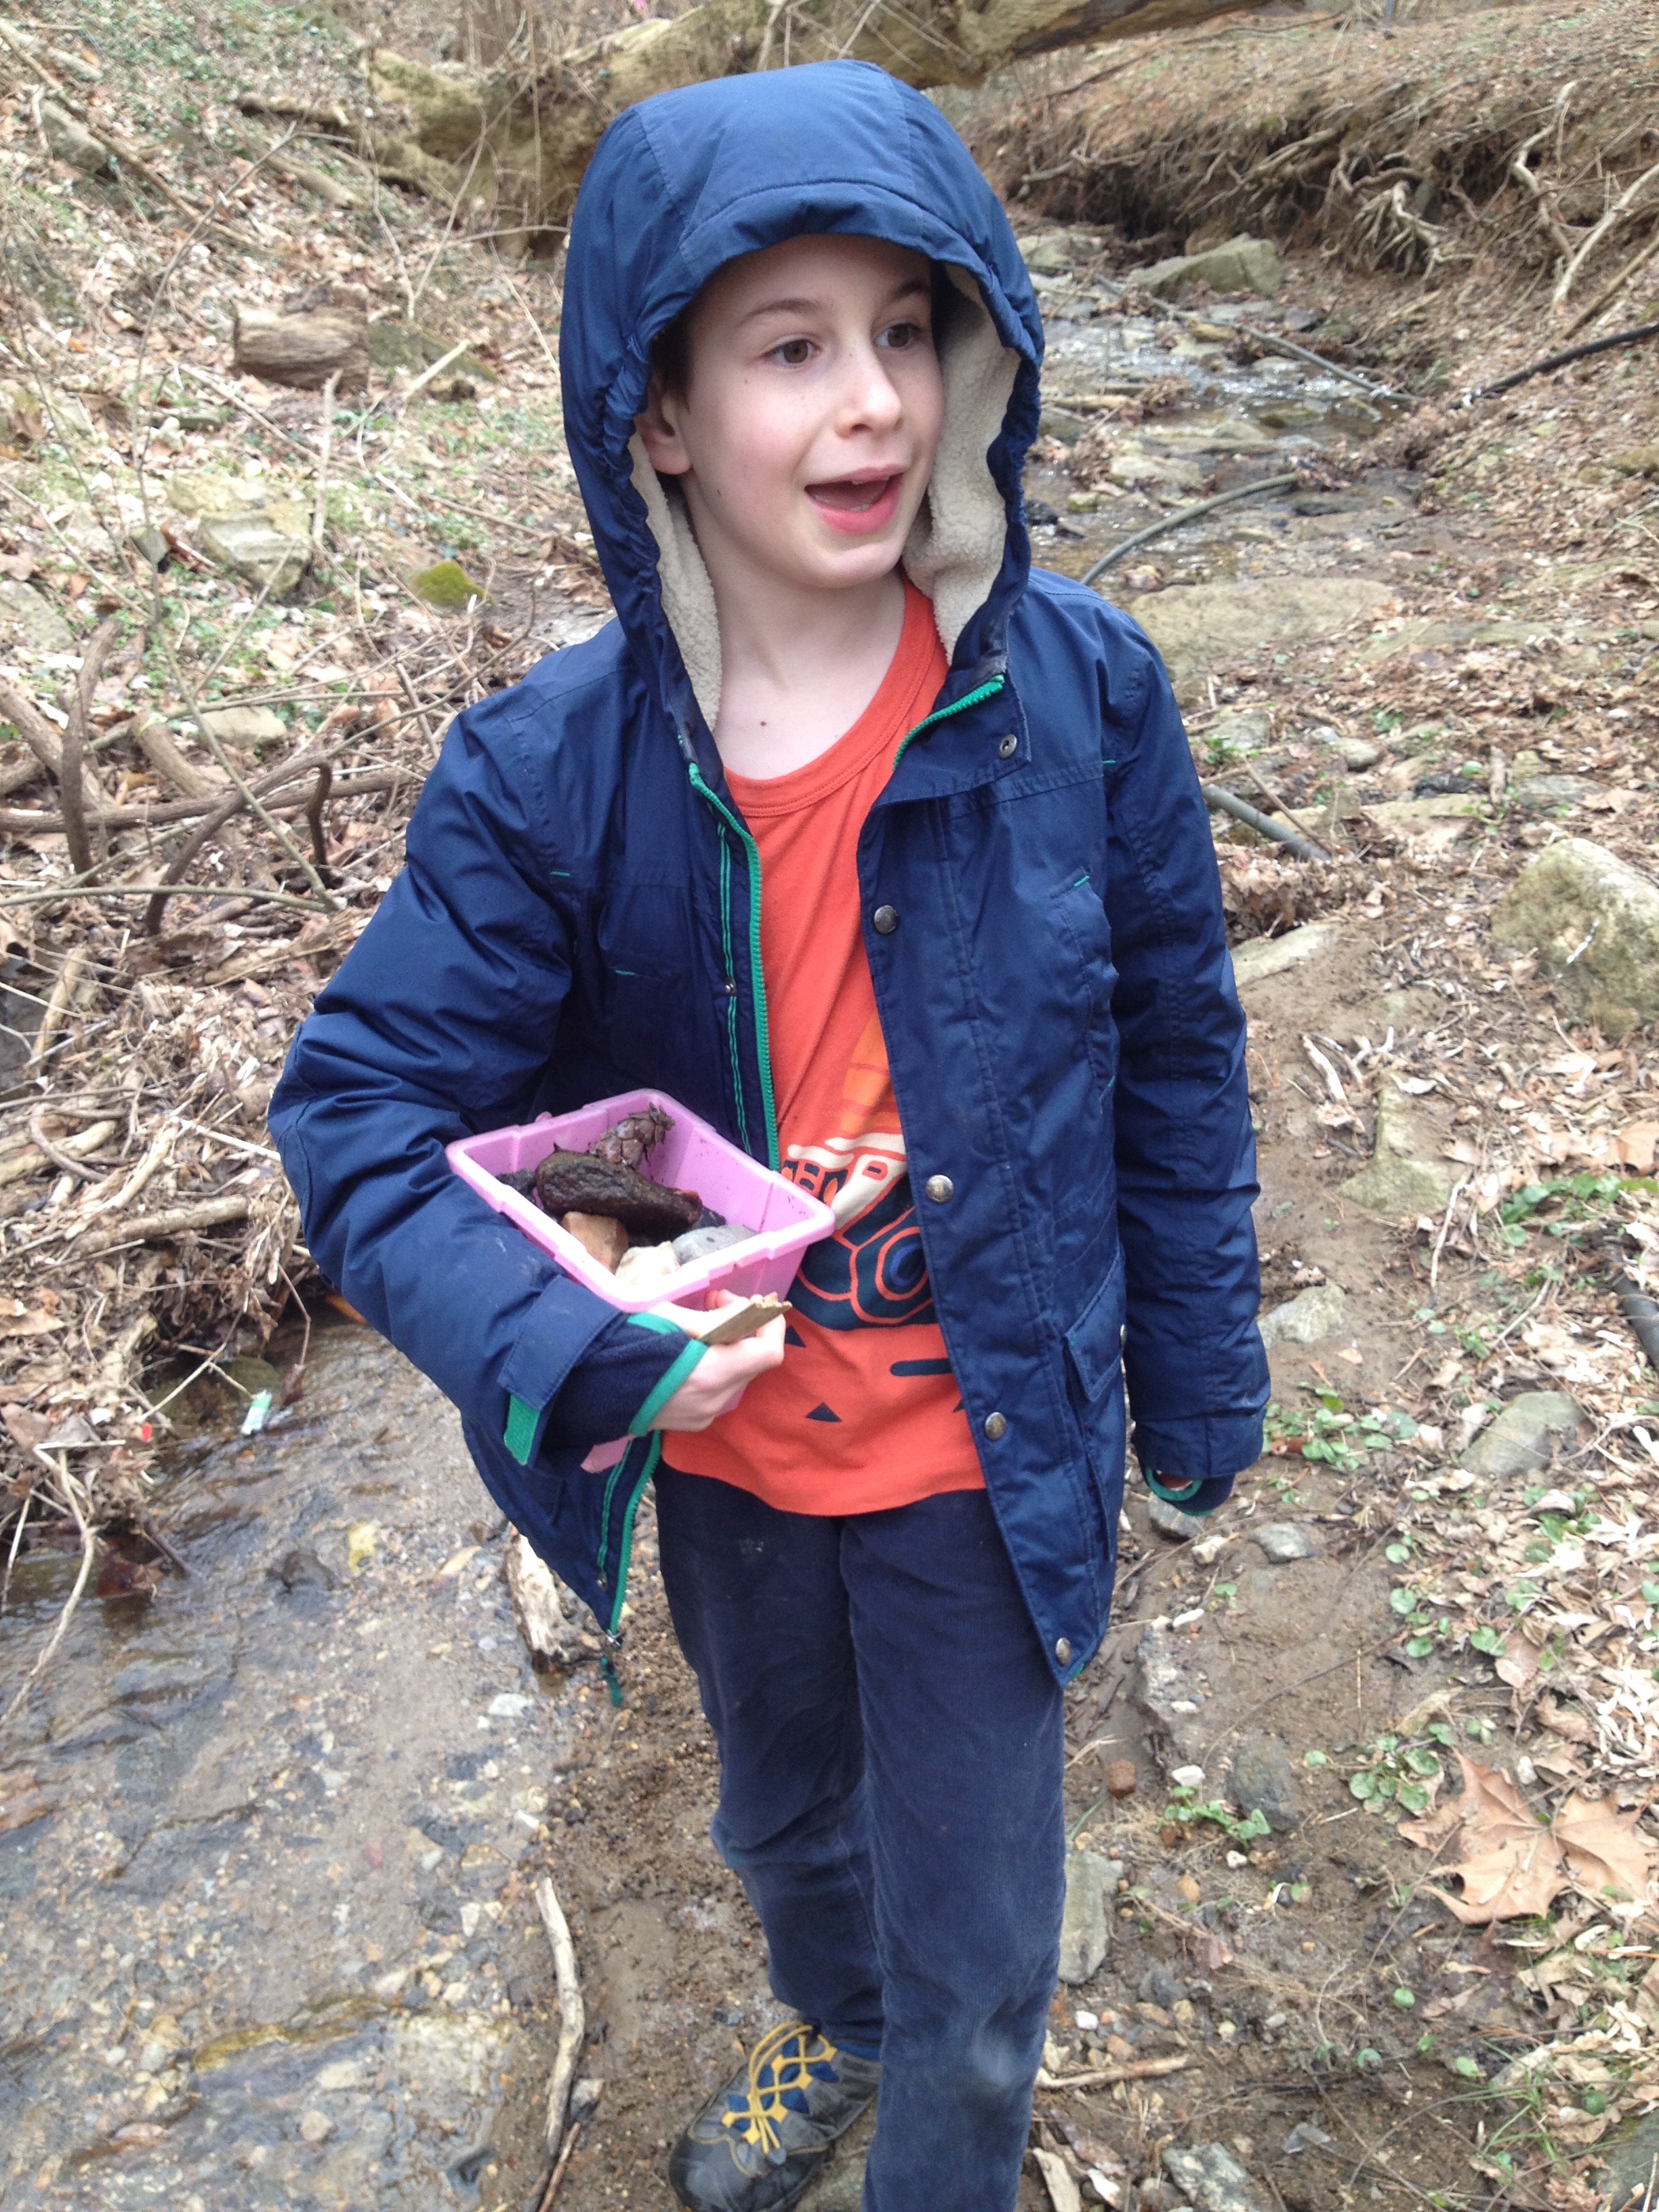 Collecting rock samples from the creek. Students quickly figured out that the creek water washed away soil, exposing a wide variety of rocks on the banks and in the stream.
The second part of our study focused on the rock cycle, especially the three primary ways that rocks are formed. When teaching about processes that students cannot experience directly through observation or experimentation, I try to create classes that include a balance of information from texts, videos, lots of time for discussions, and modeling. As a younger teacher, I sometimes felt uncomfortable during in-depth explanations of more abstract concepts because I didn’t want to inadvertently teach students to “just take my word for it” when describing complicated phenomenon. I was fearful of fostering blind trust in experts and authority. However, I’ve tried to balance this concern with teaching methods that create an open dialogue about how supporting evidence for ideas in science are developed and by being very open about the limits of my own knowledge.
 Breaking up large chunks of clay and layering sediments in a cup to model sedimentary rock formation.
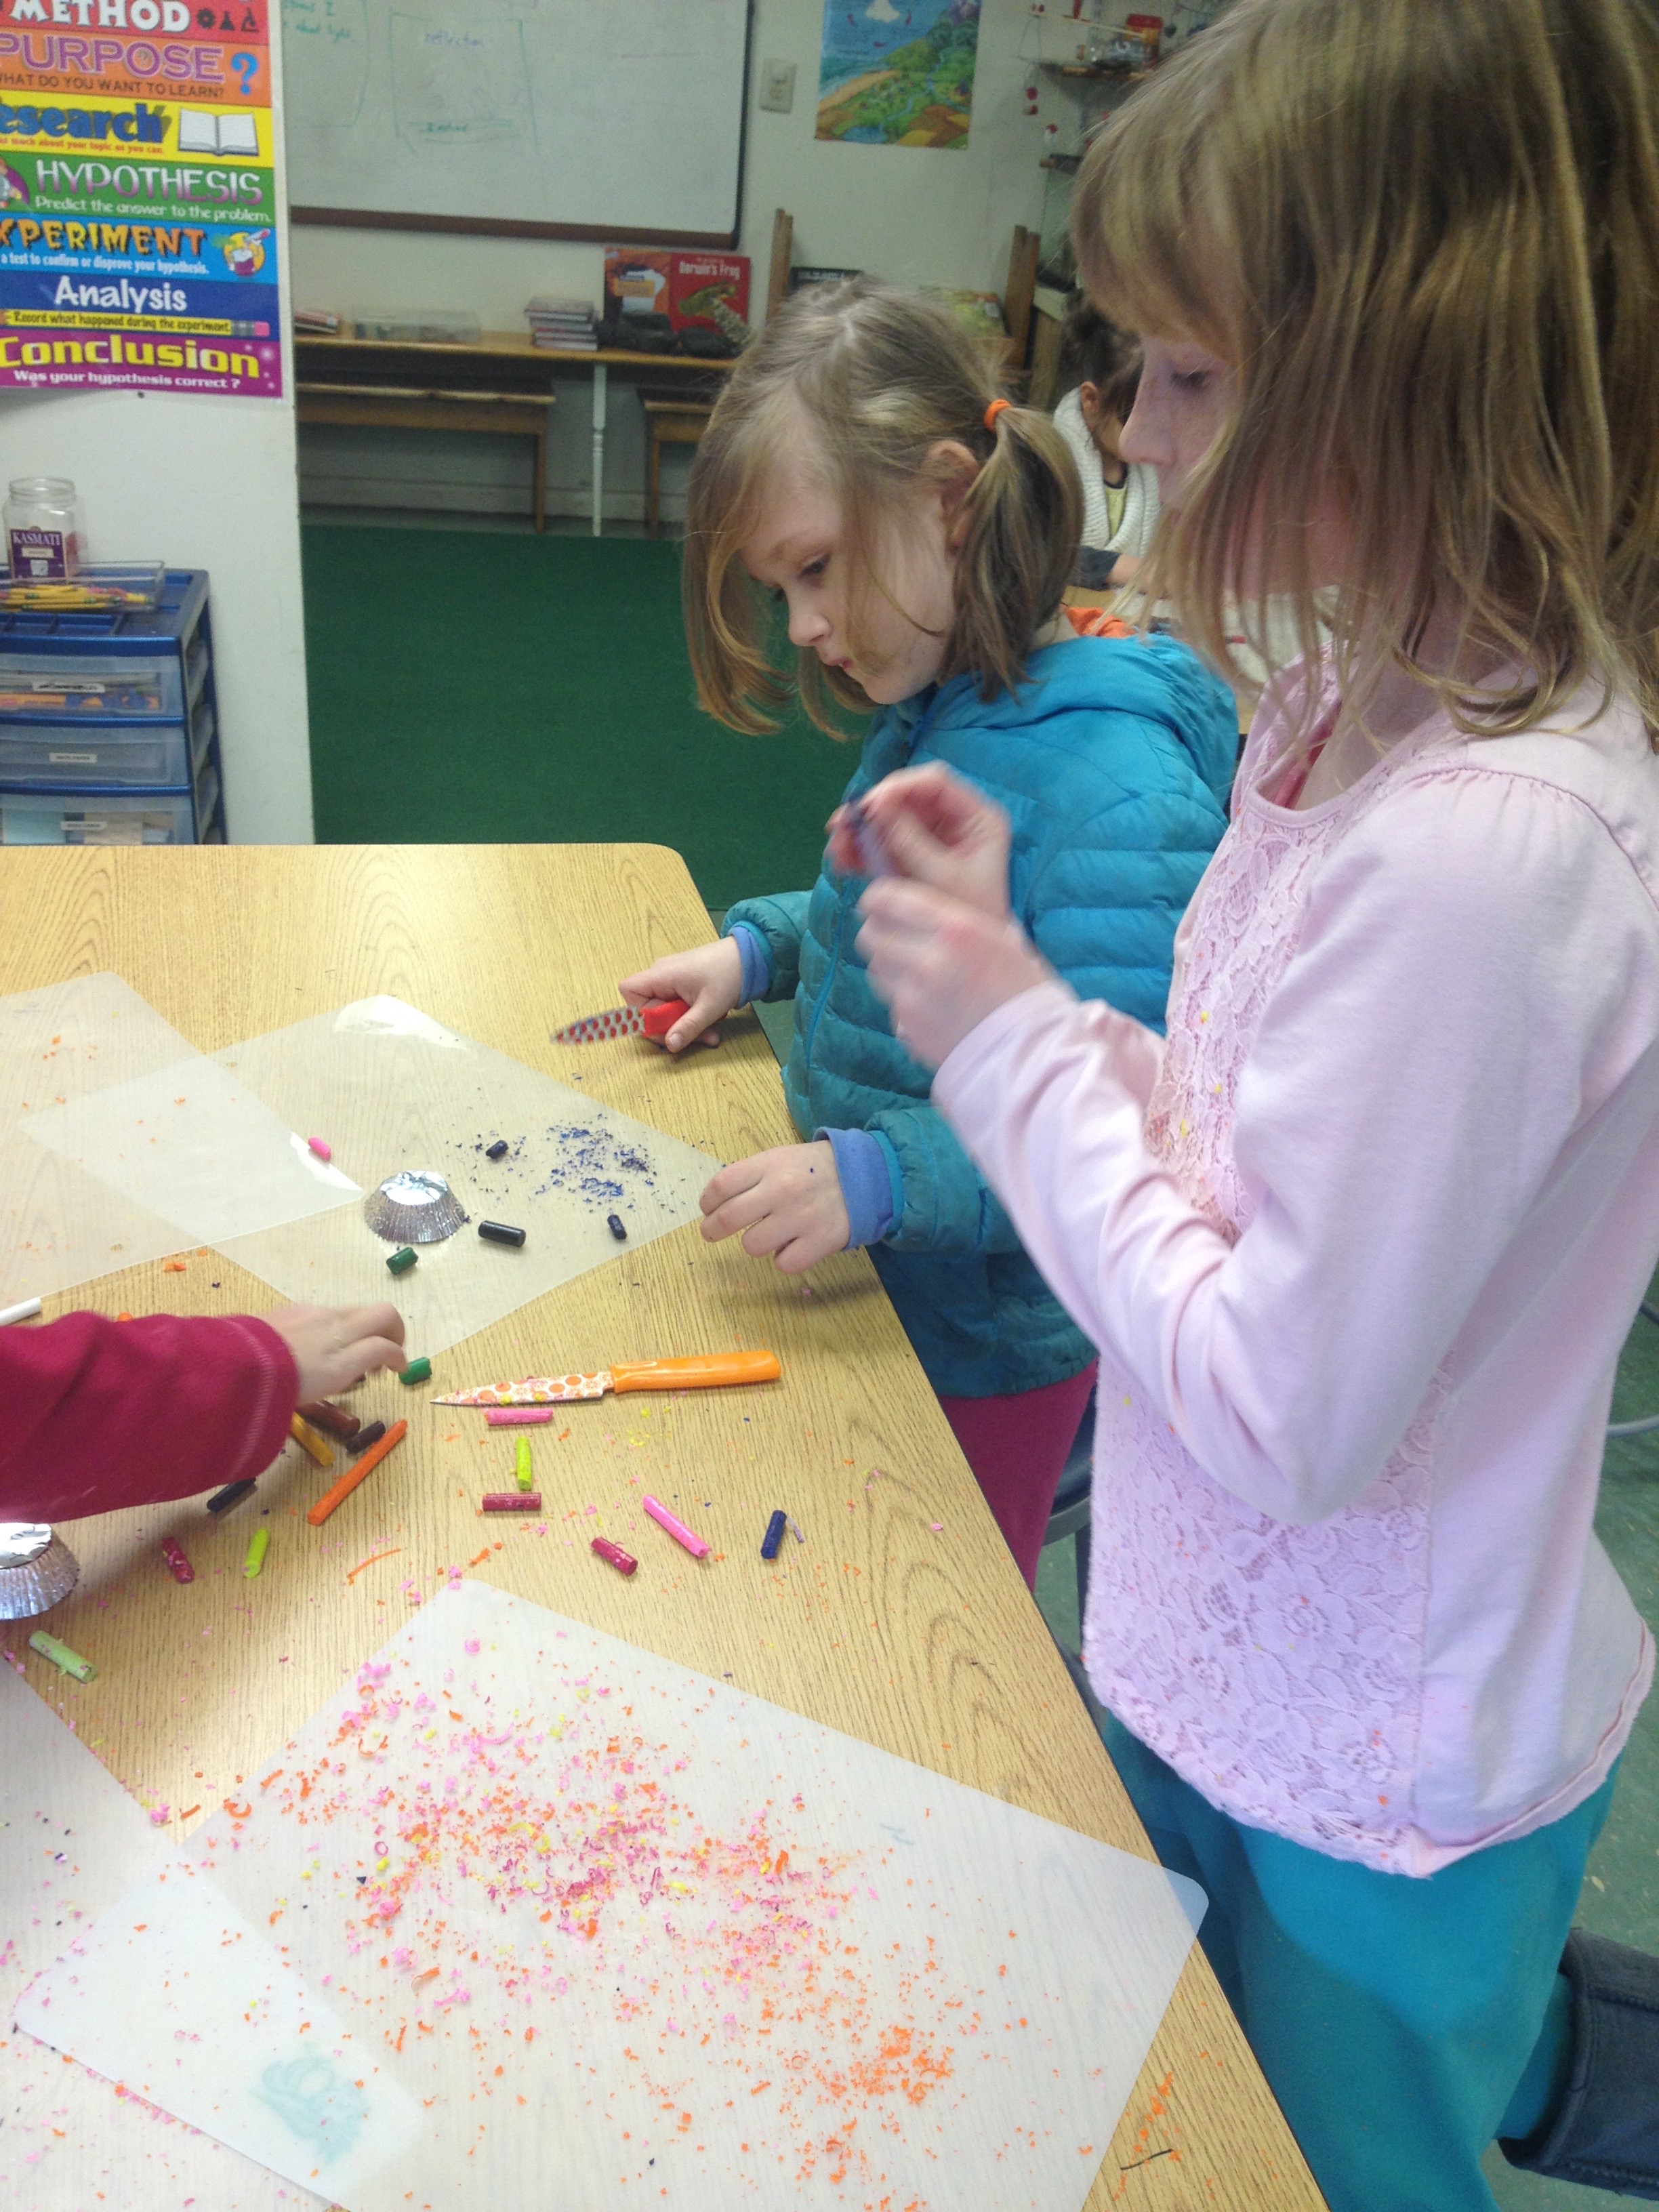 Shaving and chopping crayons before melting on the stove to model igneous rock formation.
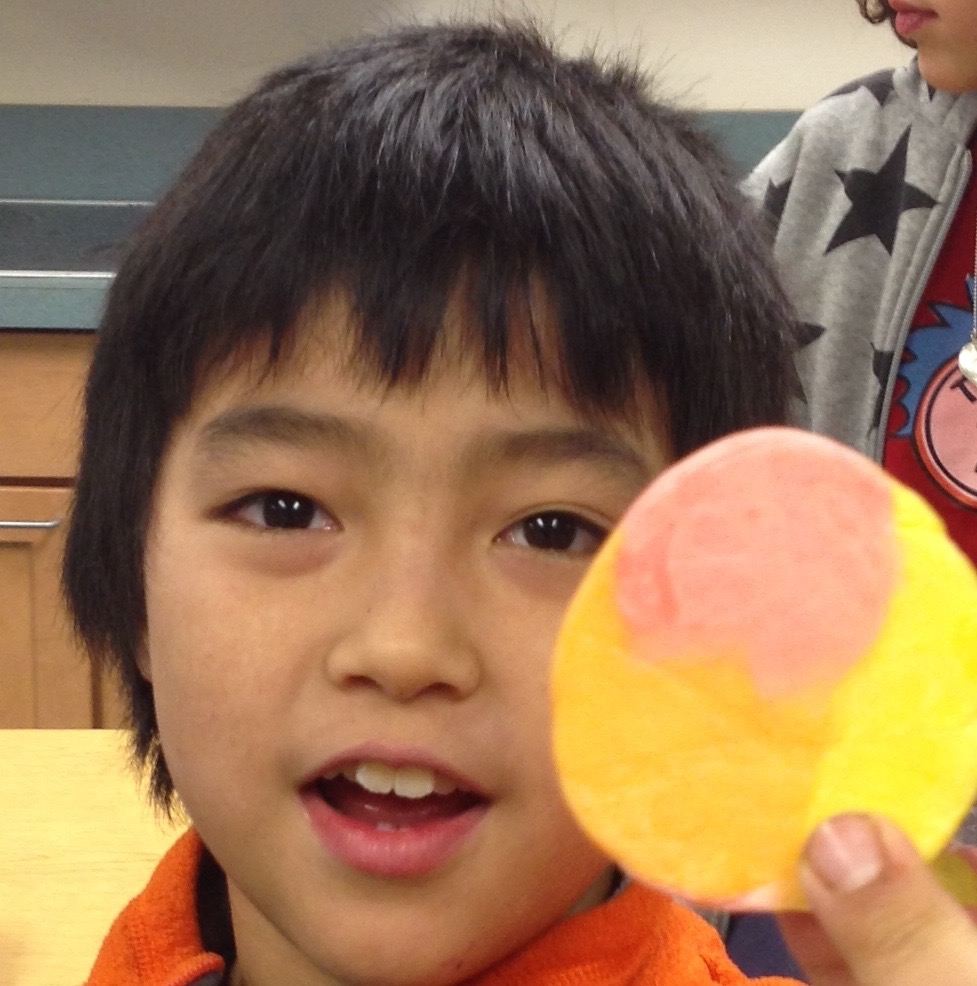 Metamorphic rock models were made by applying heat and pressure (ahem, sitting on) starburst candies until they were pliable enough to be combined into a “new rock.”
Lastly, we learned out about minerals in our bodies. After finding out about the important role of iron in our blood and why breads and cereals are fortified with extra minerals, students extracted visible amounts of iron from cornflakes.
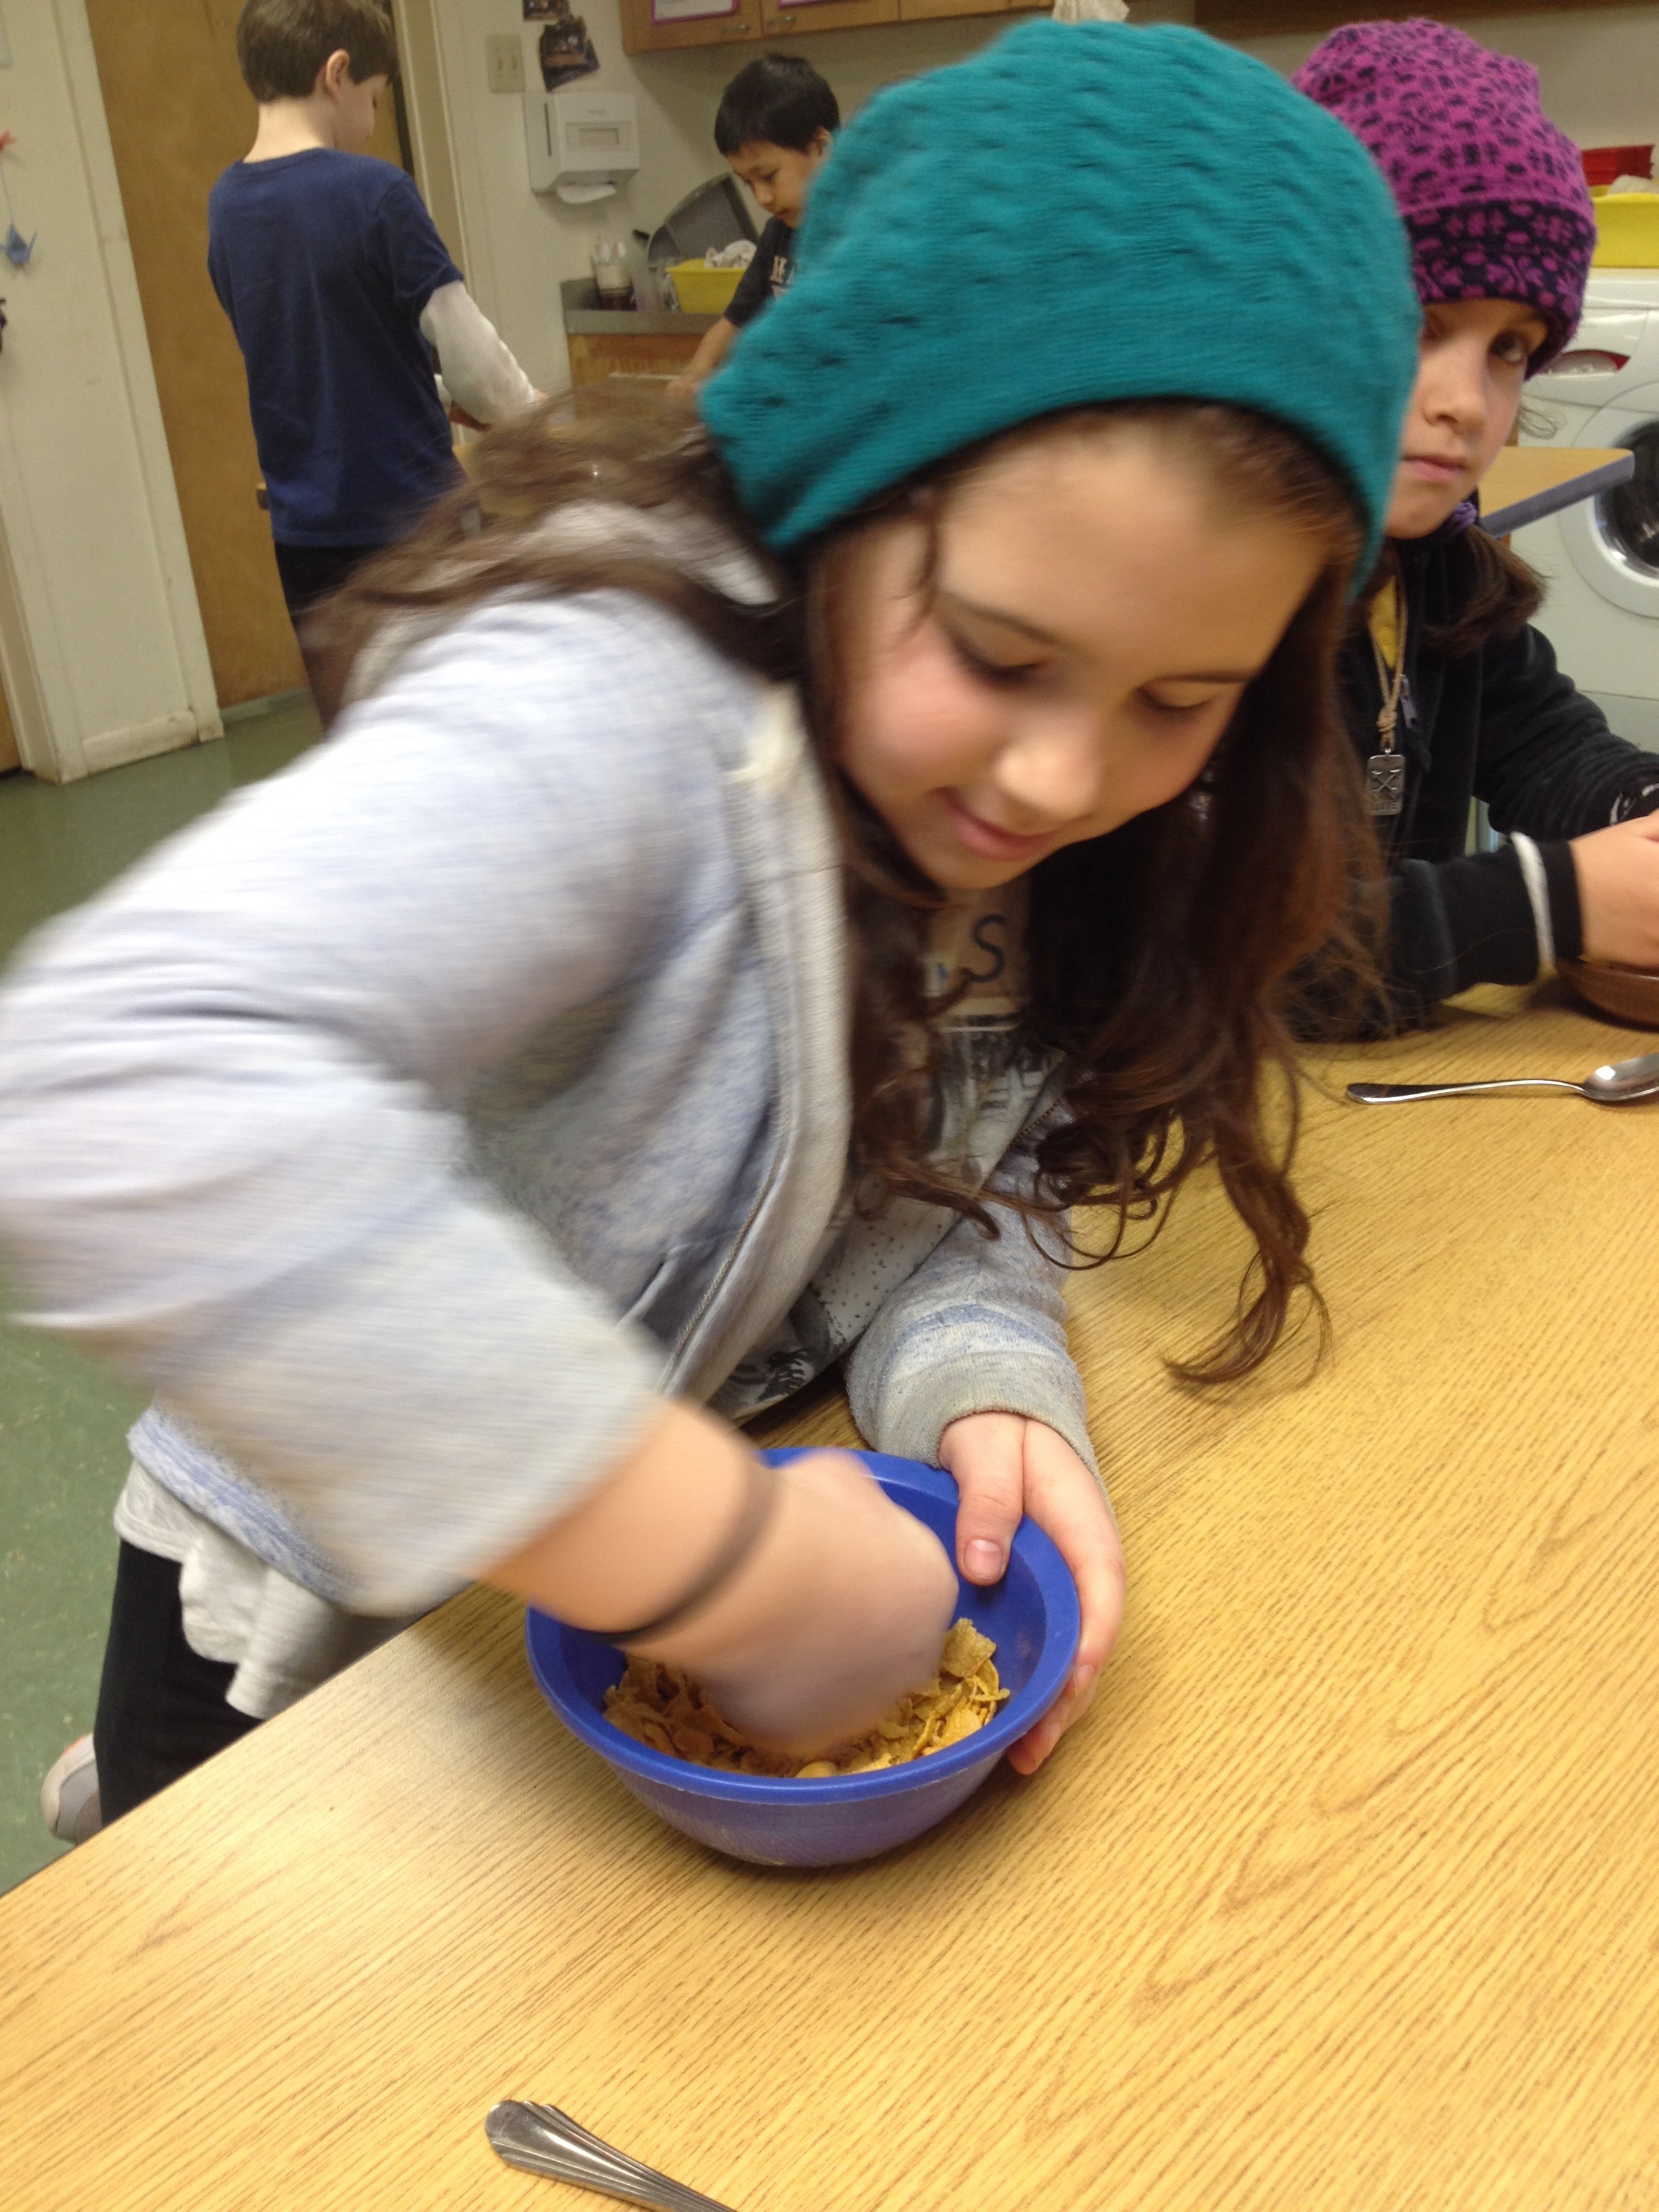 Fortified cornflakes were crushed to make it easier to isolate iron.
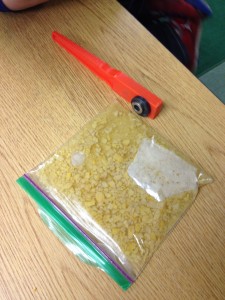 After crushing the corn flakes, we added water to dissolve the cereal and used strong magnets to attract the iron filings.
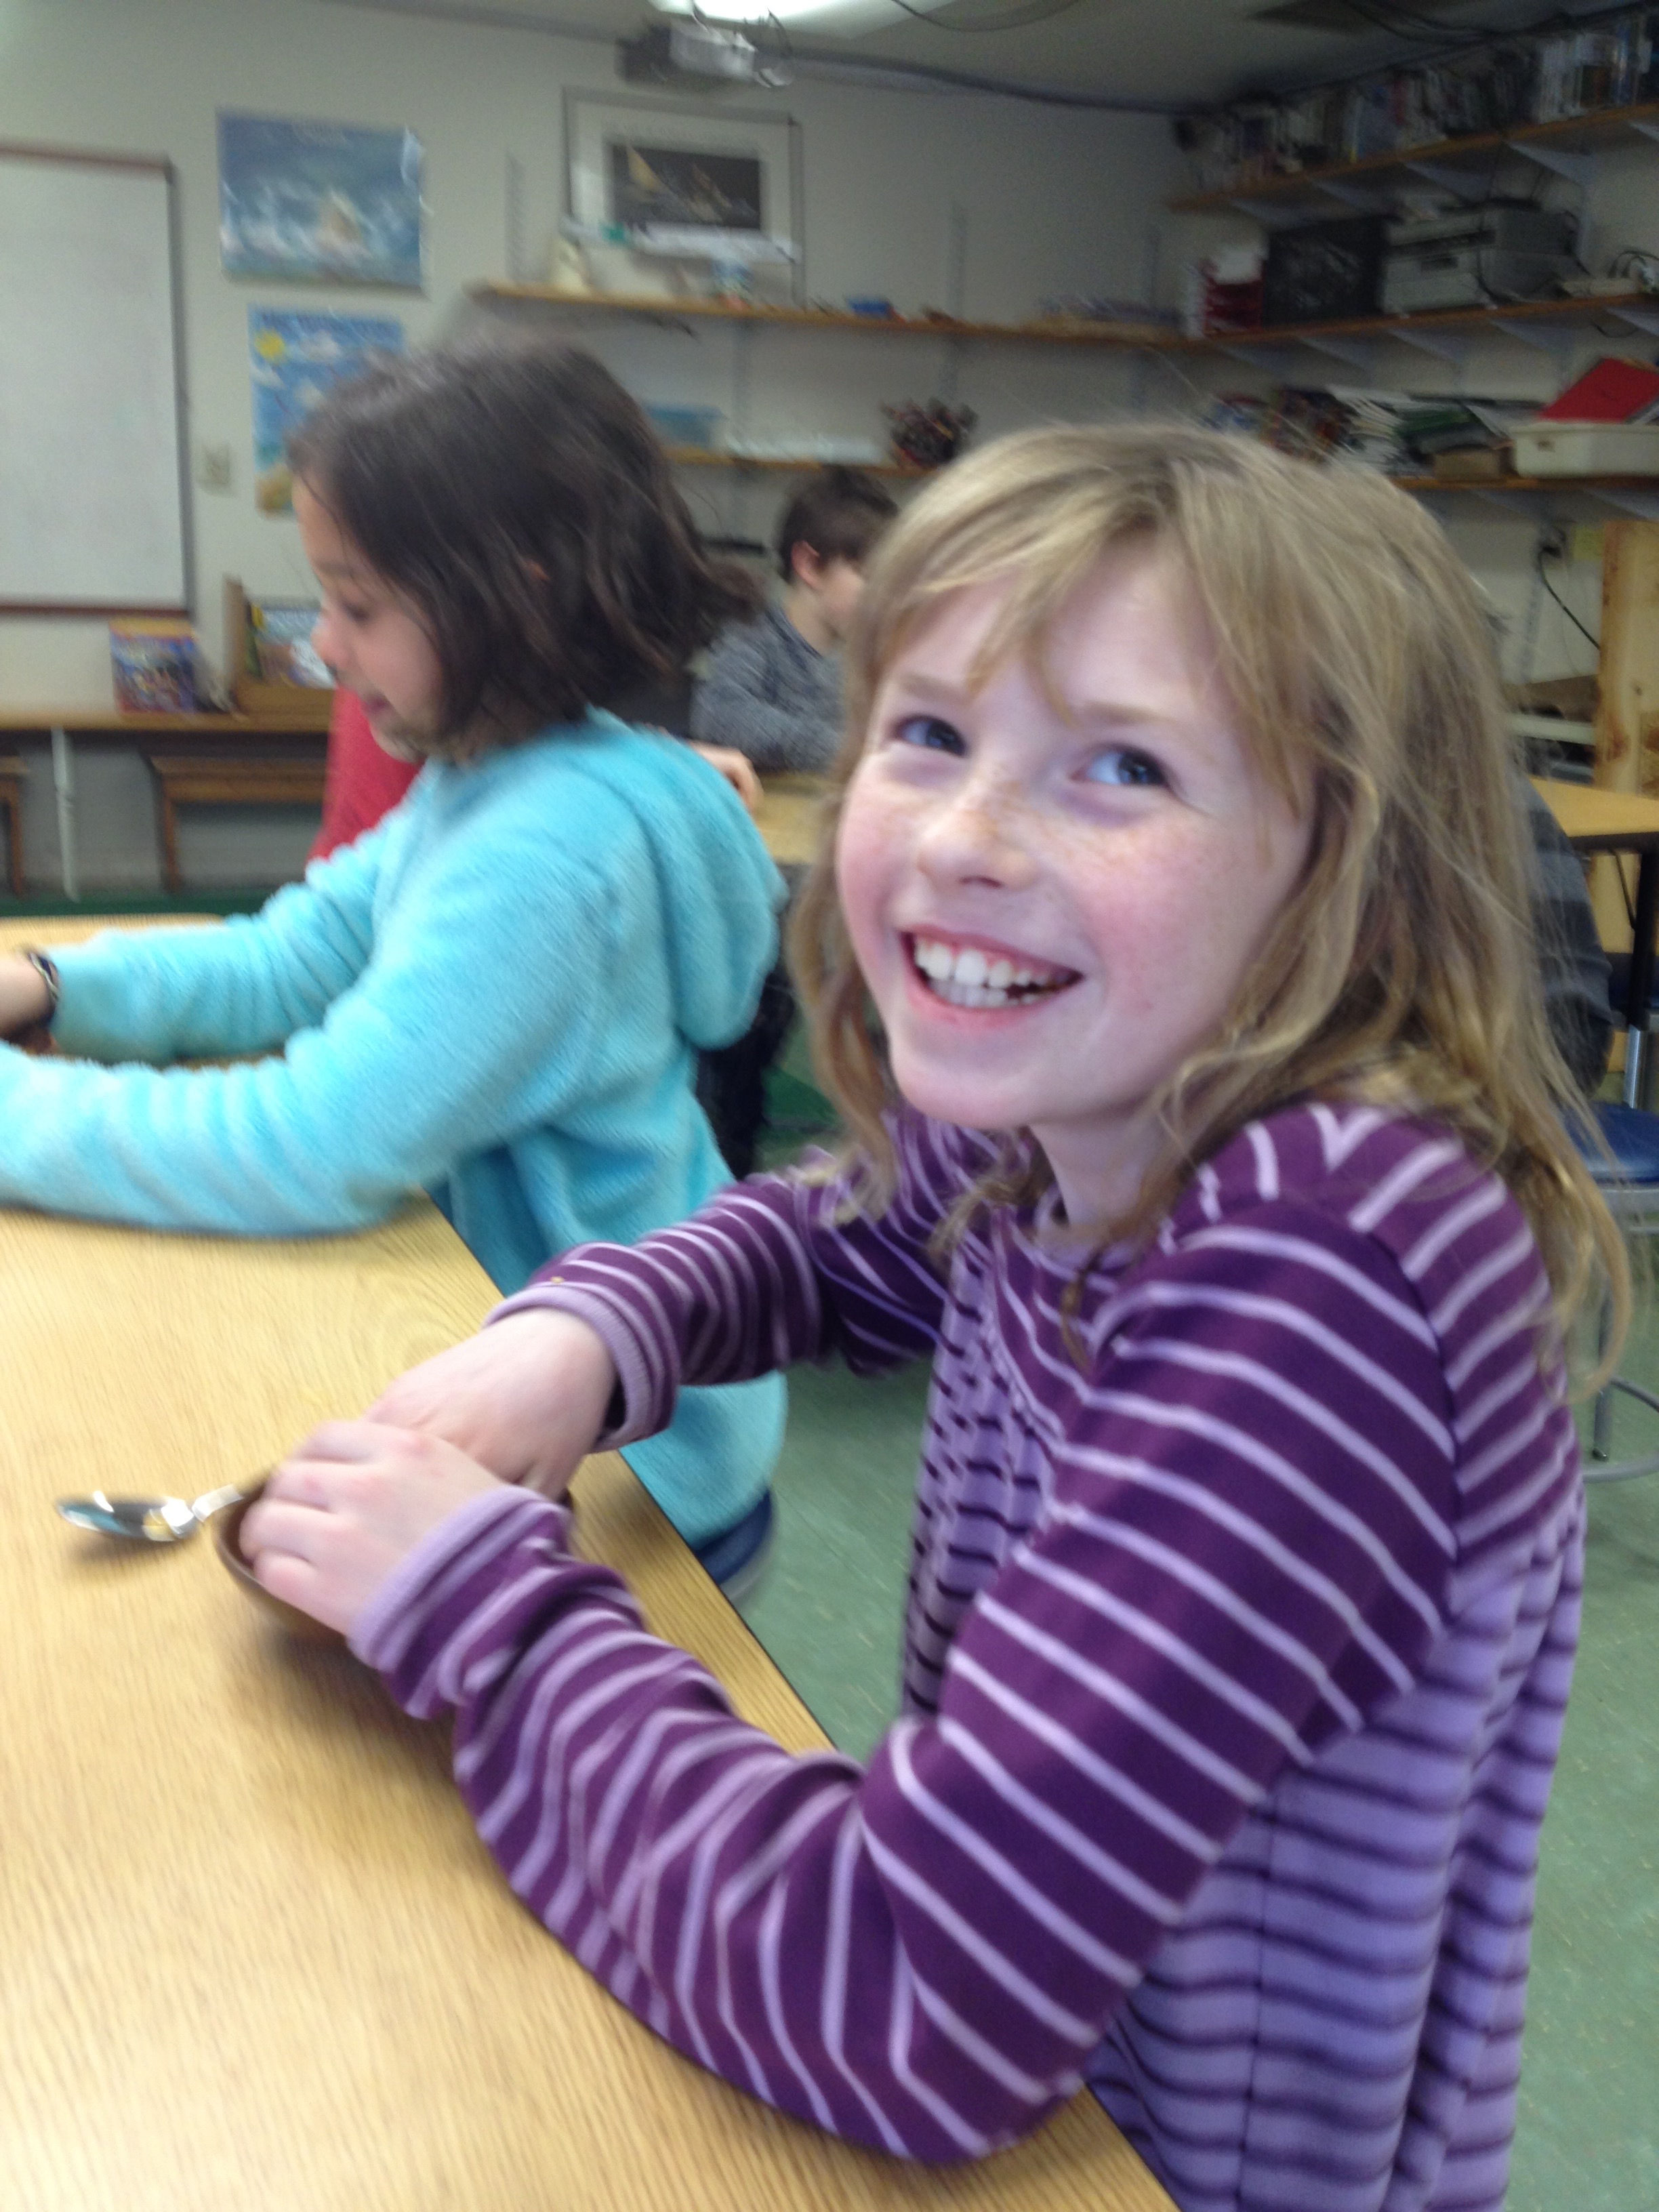 A few experimental materials were taste tested after the iron extraction process.